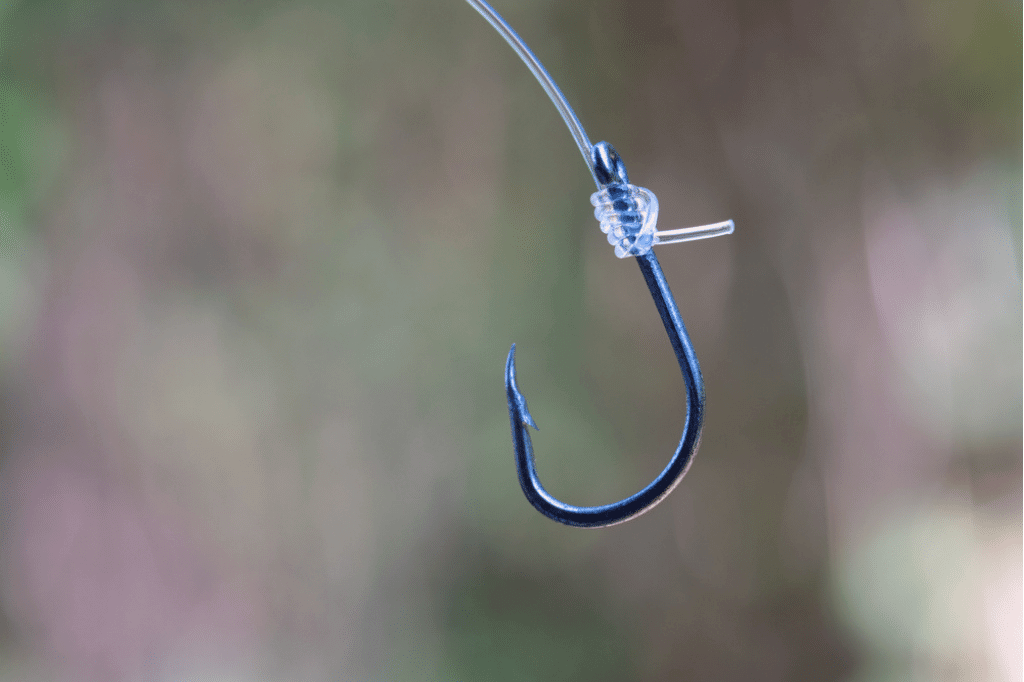
Anglers highly regard the Snell Knot for its efficiency and reliability. This knot aligns the fishing line with the hook’s shank, enhancing hook-setting power. It is essential for fishing with bait, as it ensures a secure connection. The Snell Knot is straightforward to tie, making it ideal for both novice and experienced anglers.
Its ability to maintain the line’s strength makes it indispensable in various fishing situations. Mastering this knot can significantly improve your fishing success. Understanding and using the Snell Knot is crucial for a more productive and enjoyable fishing experience.
Snell Knot Essentials: Tie Like A Pro Angler!
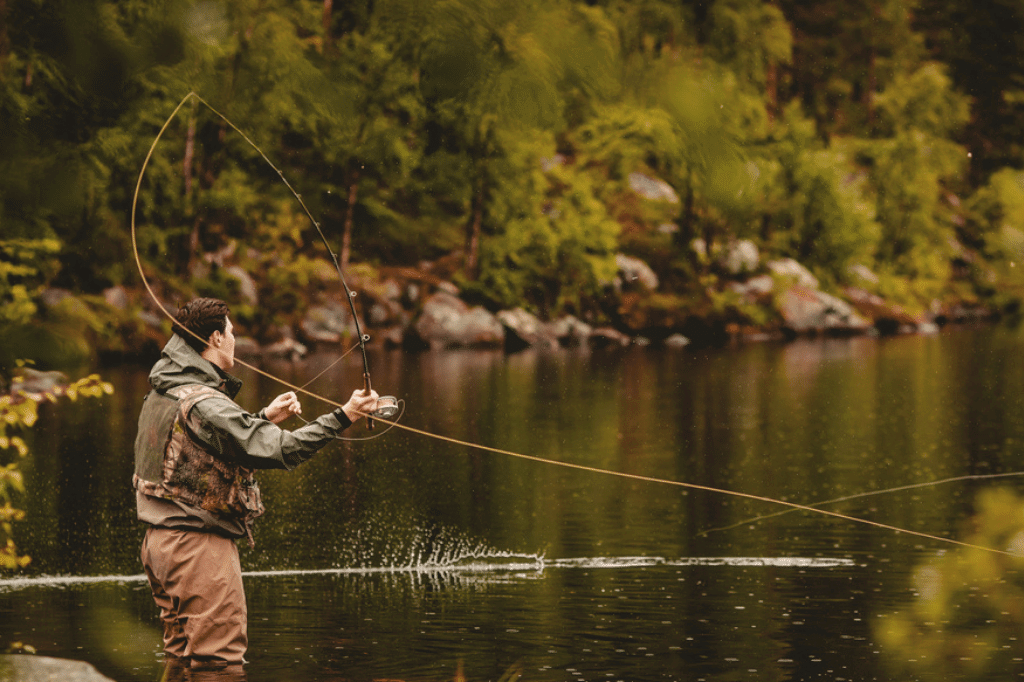
The Snell Knot is a must-know for any angler. This knot ensures a strong, reliable connection between your hook and line. It’s perfect for both freshwater and saltwater fishing. Learning this knot will elevate your fishing game to a pro level.
History And Significance
The Snell Knot has a rich history in fishing. It was first used by early anglers to secure their hooks. This knot has stood the test of time due to its effectiveness. Many experienced anglers swear by the Snell Knot for its reliability.
The Snell Knot is also known as the “snelling” knot. It has been used for decades in various fishing cultures. Its significance lies in its ability to maintain the hook’s strength and alignment. This makes it ideal for catching larger fish.
Why The Snell Knot Is Preferred By Pros
Pro anglers prefer the Snell Knot for several reasons:
- Strength: The Snell Knot provides maximum strength to the hook.
- Alignment: It keeps the hook aligned with the line, improving catch rates.
- Versatility: This knot works with various types of fishing lines and hooks.
- Reliability: The Snell Knot rarely slips, ensuring a secure connection.
Tying the Snell Knot is straightforward with practice. Follow these steps to tie it like a pro angler:
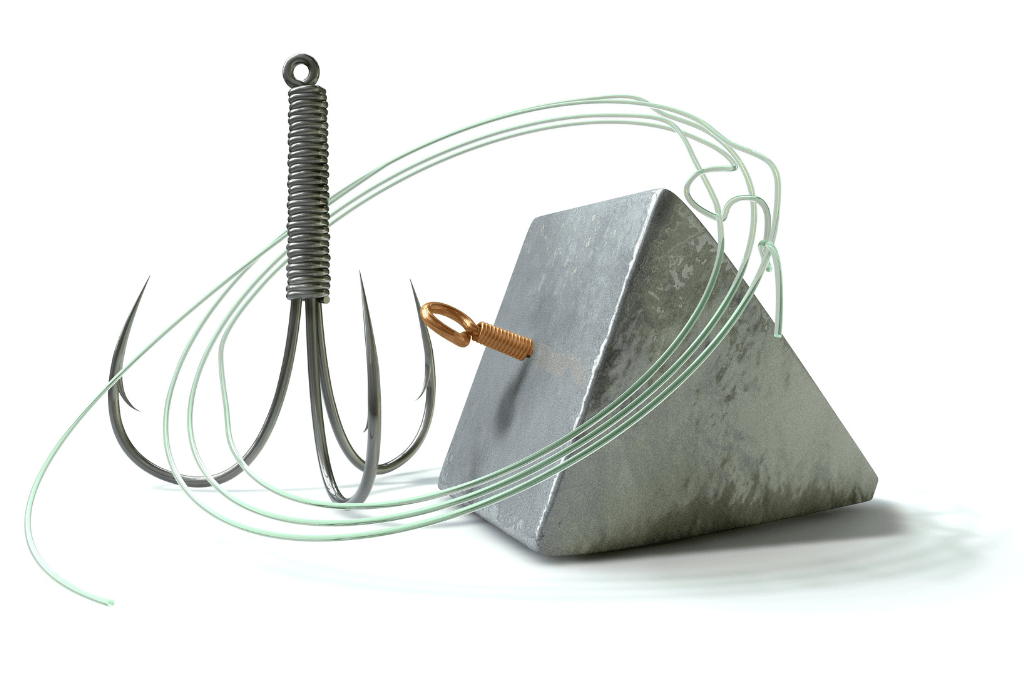
- Pass the line through the hook’s eye, leaving a long tag end.
- Wrap the tag end around the hook shank 5-7 times.
- Pass the tag end back through the hook’s eye.
- Pull both ends of the line to tighten the knot.
Mastering the Snell Knot can make a big difference in your fishing success. It ensures your hook stays secure, even under pressure. Give it a try on your next fishing trip!
Materials And Tools Needed
To tie a Snell Knot, you need the right materials and tools. Having the correct items ensures your knot is strong and secure. Let’s dive into the essentials needed for a perfect Snell Knot.
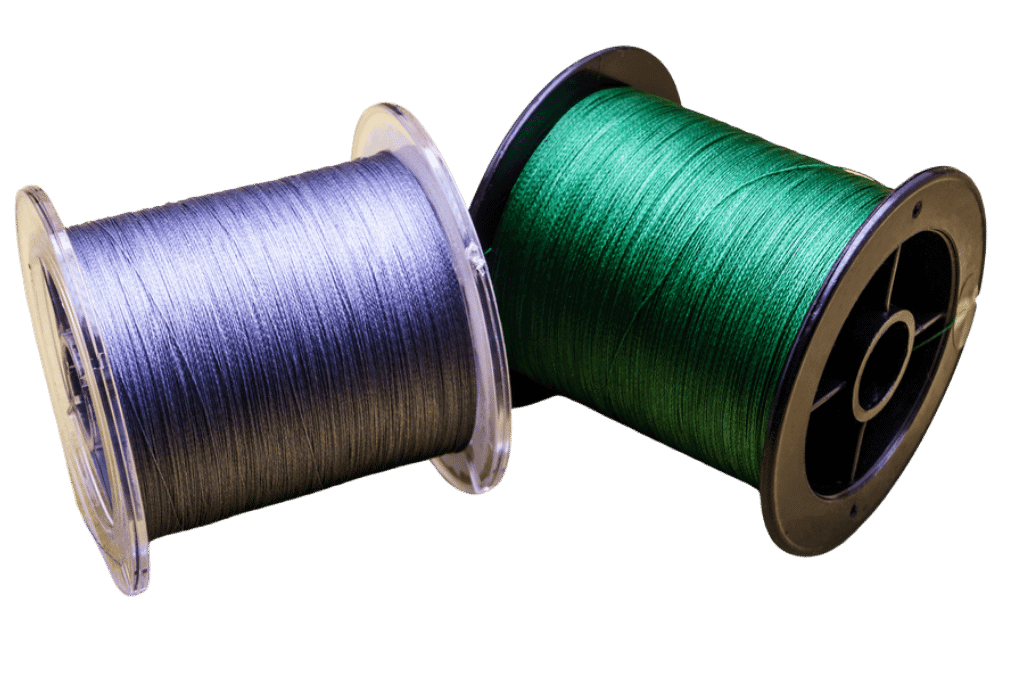
Choosing The Right Fishing Line
Your fishing line choice is crucial. The line’s strength and flexibility affect the knot’s performance. Here are some tips:
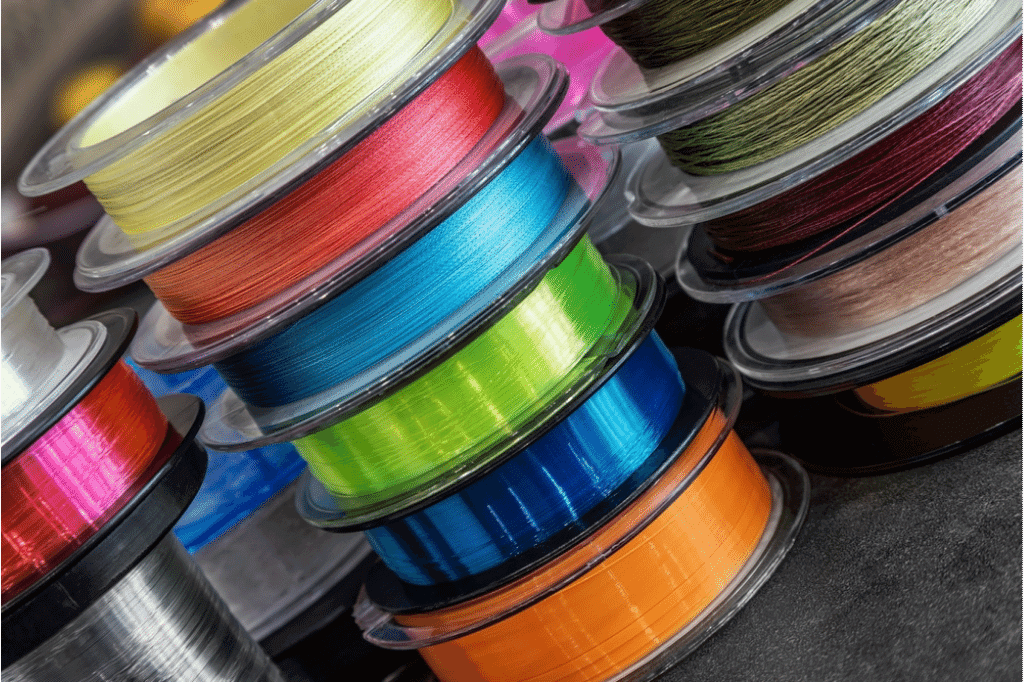
- Monofilament Line: This is versatile and easy to handle.
- Fluorocarbon Line: It is nearly invisible underwater and more resistant to abrasions.
- Braided Line: Offers higher strength and less stretch, but can be more challenging to knot.
| Fishing Line Type | Benefits |
|---|---|
| Monofilament | Versatile, easy to handle |
| Fluorocarbon | Invisible underwater, abrasion-resistant |
| Braided | High strength, less stretch |
Hook Selection For Snell Knots
Choosing the right hook is essential. The hook must match the type of fish you are targeting. Here are some pointers:
- Circle Hooks: Good for catch-and-release fishing.
- J-Hooks: Versatile and suitable for various fish species.
- Offset Hooks: Provide better hook-up ratios.
| Hook Type | Benefits |
|---|---|
| Circle Hooks | Ideal for catch-and-release |
| J-Hooks | Versatile, suitable for many fish species |
| Offset Hooks | Better hook-up ratios |
With the right fishing line and hook, you’re ready to tie a strong Snell Knot. These materials ensure your fishing experience is successful and enjoyable.
Step-by-step Guide To Tying A Snell Knot
Learning to tie a Snell Knot is crucial for any fishing enthusiast. This knot ensures your hook is securely fastened to the fishing line, providing a strong and reliable connection. Follow this simple guide to master the Snell Knot in just a few steps.
Threading The Line
Start by threading the line through the hook’s eye. Leave a long enough tag end to make the wraps later. Pull the line through to give you enough working space.
Next, bring the tag end back towards the hook’s shank. Align it parallel to the standing line, ensuring both lines are close together. This setup prepares you for creating the loop and wraps.
Creating The Loop And Wraps
Form a loop by bringing the tag end back over the standing line. Pinch the loop in place with your thumb and forefinger. This loop is essential for making the wraps.
Wrap the tag end around the hook shank and the standing line. Make 5-7 tight wraps, ensuring each wrap lies snugly against the previous one. Keep the tension even to avoid gaps.
After completing the wraps, pass the tag end through the loop you created earlier. Hold the wraps in place with your fingers to maintain their position.
Securing The Knot
Start by pulling the standing line to tighten the knot. Ensure the wraps cinch up against the hook’s eye. This step secures the wraps and forms the Snell Knot.
Trim the excess tag end close to the knot. Be careful not to cut the standing line. Your Snell Knot is now complete and ready for fishing.
Use a sharp pair of scissors or a line cutter for a clean cut. Inspect the knot to ensure it’s tight and secure.
With these steps, you can easily tie a Snell Knot. Practice regularly to perfect your technique and enjoy a better fishing experience.
Tips For Perfecting The Snell Knot
Mastering the Snell Knot can be challenging, but with the right tips, you can tie it perfectly every time. Here are some essential tips to help you improve your Snell Knot tying skills.
Tension Control During Tying
Maintaining proper tension is key to a strong Snell Knot. Too much tension can cause the line to snap, while too little tension can make the knot weak.
Follow these steps for better tension control:
- Hold the hook securely while tying the knot.
- Keep the line taut but not overly tight.
- Adjust tension as you wrap the line around the hook.
Troubleshooting Common Mistakes
Even experienced anglers make mistakes. Here are common issues and how to fix them:
| Common Mistake | Solution |
|---|---|
| Loose wraps | Ensure each wrap is tight and snug. |
| Twisted line | Keep the line straight and untwisted. |
| Slipping knot | Double-check tension and wrap count. |
Applications Of The Snell Knot
The Snell Knot is a versatile and reliable fishing knot. It is known for its strength and efficiency. This knot is especially useful in specific fishing scenarios. Below, we explore its applications.
When To Use The Snell Knot In Fishing
The Snell Knot is ideal for situations where you need a strong and secure connection. It is especially useful for attaching hooks to fishing lines. This knot allows the hook to align with the line, creating a direct pull.
Use the Snell Knot when fishing in heavy cover. The knot helps prevent the hook from snagging. It is also great for bottom fishing. The direct pull keeps the hook in the fish’s mouth.
Types Of Fish Best Caught With A Snell Knot
The Snell Knot is effective for catching a variety of fish species. Some fish are better suited for this knot due to their size and habitat. Below is a table of fish types best caught with a Snell Knot:
| Fish Type | Reason |
|---|---|
| Catfish | Strong and fights hard |
| Carp | Large and heavy |
| Snapper | Often found in rocky areas |
| Bass | Common in heavy cover |
Catfish are known for their strength. The Snell Knot ensures the hook stays secure. Carp are large and heavy fish. The Snell Knot helps in holding them firmly.
Snapper often reside in rocky areas. The Snell Knot prevents the hook from snagging. Bass are frequently found in heavy cover. The knot’s direct pull helps in such environments.
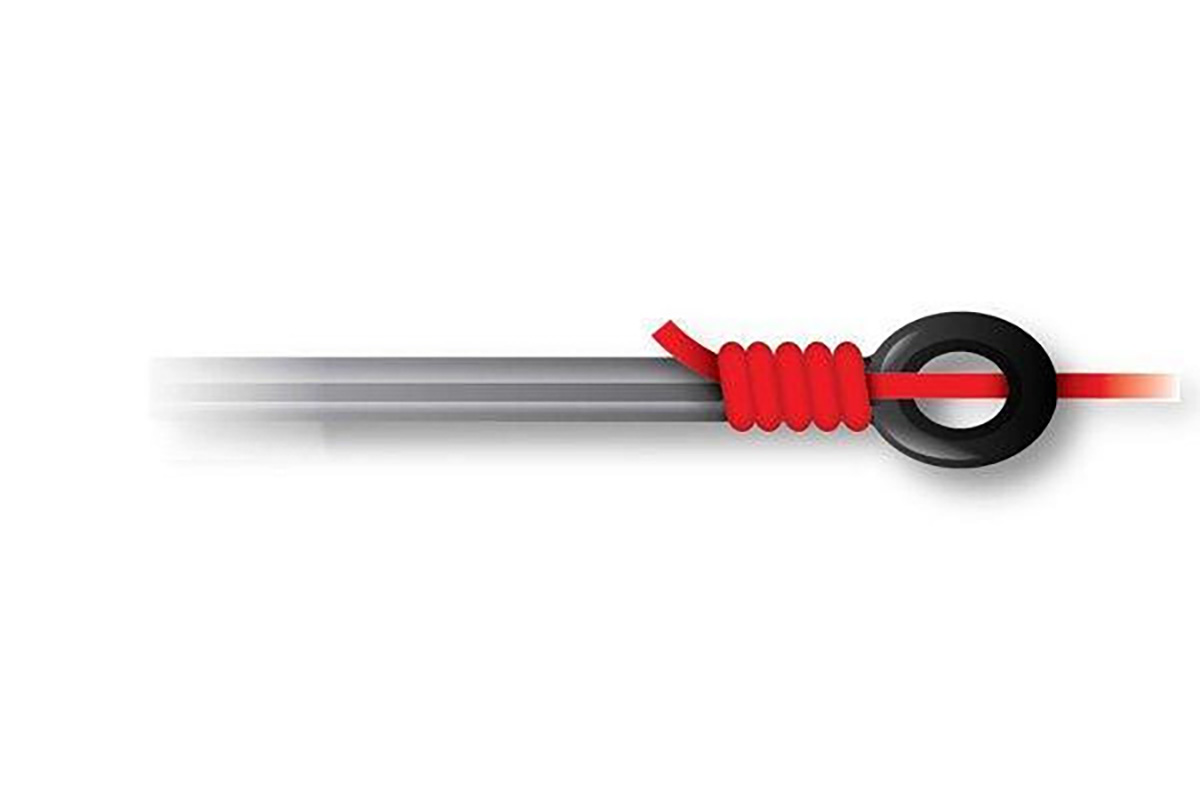
Credit: www.netknots.com
Advantages Of The Snell Knot
The Snell Knot is a favorite among anglers. Its unique design offers several advantages. This knot boosts your fishing success significantly.
Strength And Reliability
The Snell Knot is renowned for its strength and reliability. This knot distributes tension evenly along the hook’s shank. This reduces stress on the line, preventing breakage. Anglers trust the Snell Knot for catching large fish. It holds up well under pressure.
| Feature | Benefit |
|---|---|
| Even Tension Distribution | Reduces line stress |
| Strong Hold | Prevents knot breakage |
| Reliability | Suitable for large fish |
Improved Hook Setting Capability
The Snell Knot enhances hook setting capability. It aligns the hook with the line. This alignment ensures a direct pull when setting the hook. As a result, the hook penetrates the fish’s mouth more effectively. This increases your chances of a successful catch.
- Direct pull on the hook
- Better hook penetration
- Increased catch rate
Using the Snell Knot can significantly improve your fishing experience. Its strength and reliability are unparalleled. Its improved hook setting capability is a game-changer. Try the Snell Knot on your next fishing trip.
Variations Of The Snell Knot
The Snell Knot is a popular choice among anglers due to its strength and reliability. Over the years, various modifications have been developed to suit different fishing needs. Let’s explore these variations and understand their unique benefits.
The Traditional Snell Vs. The Uni Snell
The Traditional Snell Knot is well-known for its simplicity and strength. It involves wrapping the line around the hook shank multiple times. This creates a tight grip, ensuring the hook stays in place. Here’s a quick step-by-step guide:
- Pass the tag end of the line through the hook eye.
- Make a loop along the shank of the hook.
- Wrap the tag end around the hook and line 7-8 times.
- Pull the tag end through the loop and tighten.
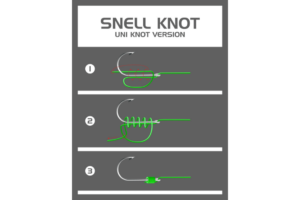
The Uni Snell Knot offers a modern twist on the traditional method. It provides more flexibility and is easier to tie in various conditions. Follow these steps to tie a Uni Snell:
- Thread the line through the hook eye and make a loop.
- Wrap the tag end around both the loop and the standing line 4-5 times.
- Moisten the knot and pull tight.
- Trim the excess line.
Modifying The Snell For Different Fishing Conditions
Fishing conditions can vary greatly, requiring slight adjustments to the Snell Knot. Here are some modifications:
- Heavy Current: Use more wraps (10-12) to increase knot strength.
- Clear Water: Opt for fewer wraps (4-5) to make the knot less visible.
- Braided Line: Double the line before tying to prevent slippage.
Adapting your knot technique ensures better performance and fewer lost catches. Always test your knot before casting.
Maintaining Your Snell Knots
Snell knots are vital for anglers who want reliable and strong connections. Proper maintenance ensures the knot remains dependable. Learn how to inspect and store your Snell knots for future use.
Inspection And Replacement
Regularly inspect your Snell knots to ensure they are still strong. Look for signs of wear and tear. Replace any knots that appear frayed or damaged.
Follow this checklist for inspection:
- Check for frayed lines around the knot.
- Examine the hook for rust or damage.
- Test the knot’s strength by pulling gently.
If any of these issues are found, replace the Snell knot immediately. A weak knot can cause loss of fish.
Storing Tied Hooks For Future Use
Proper storage of tied hooks can save time and ensure readiness. Organize your hooks to avoid tangling and damage.
Use these methods for efficient storage:
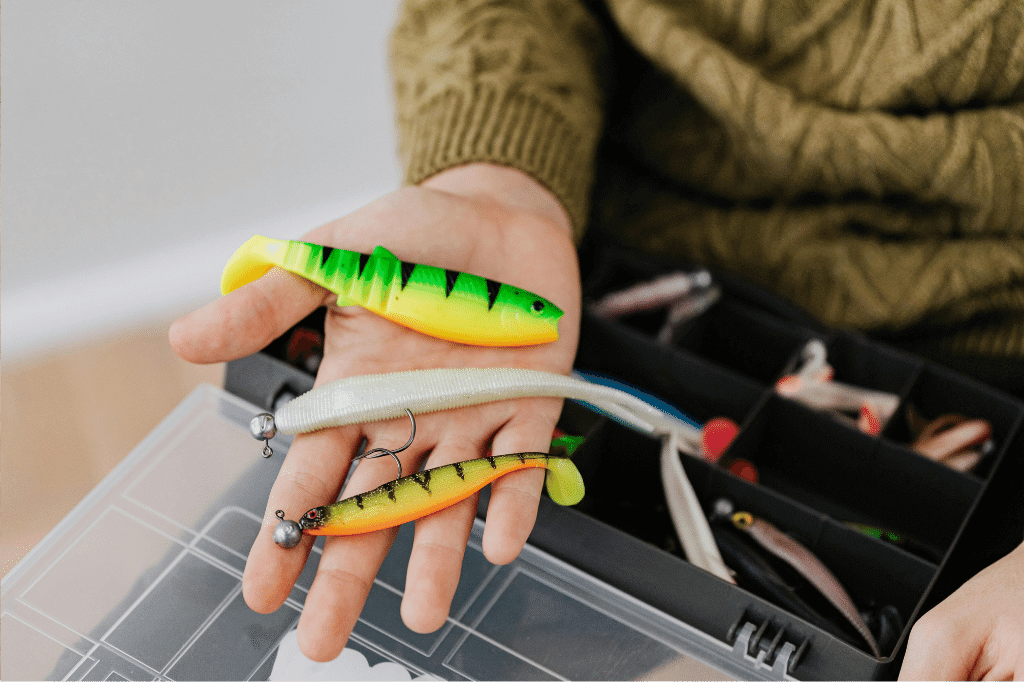
- Use a tackle box with individual compartments.
- Wrap the line around a foam pad to keep it secure.
- Label each compartment with the hook size and type.
Keeping your hooks organized helps maintain their integrity. Store them in a cool, dry place to prevent rust and degradation.
Here is a table summarizing the maintenance tips:
| Task | Action |
|---|---|
| Inspection | Check for frays, rust, and test strength |
| Replacement | Replace if damaged or weak |
| Storage | Use tackle box, foam pad, label compartments |
| Environment | Store in a cool, dry place |
Learning From The Experts
Mastering the Snell Knot can seem challenging, but learning from experts makes it easier. Professional anglers and seasoned fishermen have honed their skills over years. Their techniques and tips can help you tie the Snell Knot like a pro.
Professional Angler Techniques
Professional anglers have specific techniques for tying the Snell Knot. They emphasize the importance of tight wraps and consistent tension. These two factors ensure the knot is both strong and reliable.
Some experts recommend using a knot-tying tool. This tool helps maintain even tension and makes the process quicker. Others prefer using their hands, feeling each wrap to ensure precision.
Practice is key. Experts suggest practicing with different types of fishing lines. This helps you understand how the knot behaves with various materials.
| Techniques | Description |
|---|---|
| Use of Tools | Knot-tying tools can help maintain tension and speed up the process. |
| Hand Techniques | Feeling each wrap ensures precision and tightness. |
| Consistent Tension | Maintains the knot’s integrity and strength. |
Resources And Guides For Further Learning
Many resources and guides are available to help you master the Snell Knot. Online tutorials, fishing forums, and books offer detailed instructions and tips.
- Online Tutorials: Websites like YouTube have step-by-step videos.
- Fishing Forums: Join forums to get advice and tips from experienced anglers.
- Books: Many fishing books provide detailed knot-tying guides.
Interactive resources like apps can also be helpful. These apps often feature animated tutorials and practice exercises.
- Download a fishing app with knot-tying features.
- Watch animated tutorials to understand the steps.
- Practice using the app’s practice exercises.
Learning from the experts, along with these resources, will help you tie a perfect Snell Knot every time.
Credit: www.wired2fish.com
Frequently Asked Questions
What Is A Snell Knot Used For?
A snell knot secures a fishing hook to the leader or line, ensuring strong and reliable connections. It’s widely used in angling.
What Is The Strongest Fishing Knot?
The Palomar Knot is the strongest fishing knot. It’s easy to tie and maintains high breaking strength. Ideal for braided lines.
How To Tell A Snell Knot?
A snell knot wraps the fishing line around the hook shank. It creates a strong, secure connection.
How Many Wraps For A Snell Knot?
Typically, a Snell knot requires 7 to 9 wraps around the hook shank. This ensures a secure knot.
Conclusion
Mastering the Snell Knot enhances your fishing experience. Its reliability ensures you won’t lose your catch. Practice this technique to improve your skills. With its strength and simplicity, the Snell Knot is essential for every angler. Start tying it today and secure your fishing success.

