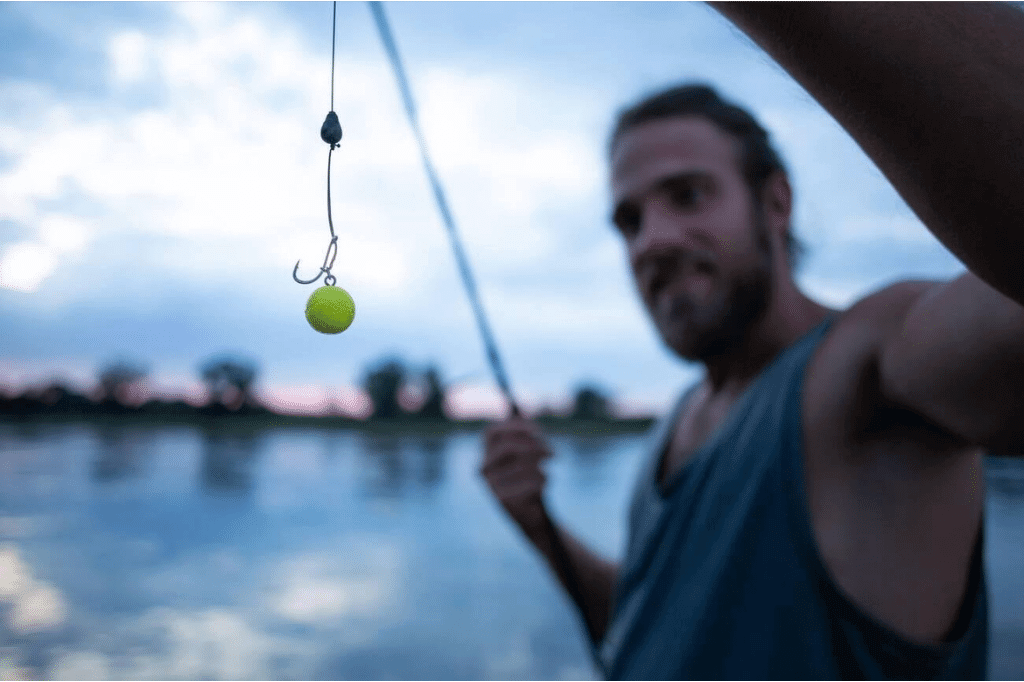
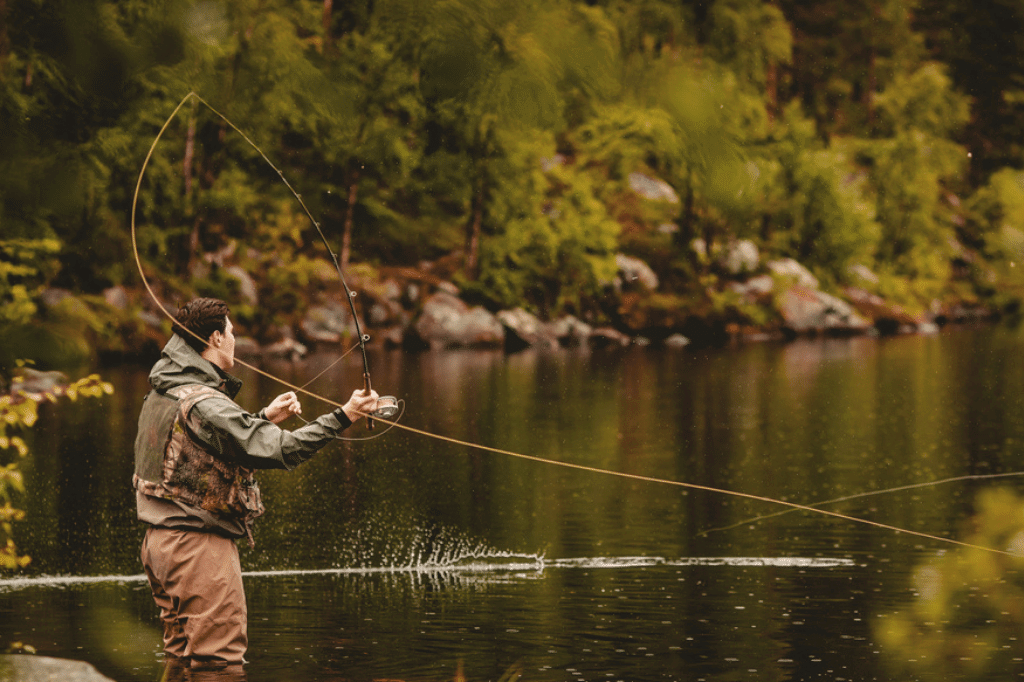
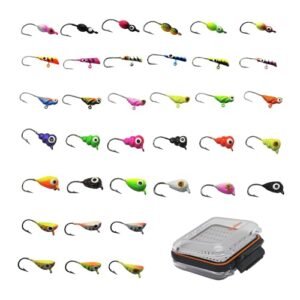
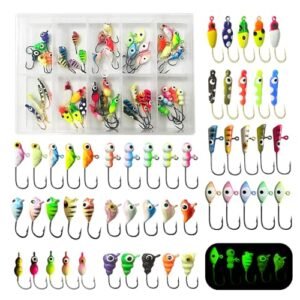
Anglers often turn to the Fish Finder Rig for its simplicity and effectiveness in a variety of fishing conditions. This rig allows the bait to move naturally with the current, making it more attractive to fish. The main components include a sinker, a leader, a hook, and a swivel, which work together to keep your bait in the strike zone while minimizing snags and line twists.
Ideal for targeting species like bass, catfish, and flounder, the Fish Finder Rig is a staple in the tackle box of both novice and experienced fishermen. Its adaptability to different environments makes it a go-to choice for catching a wide range of fish.
Reeling In The Basics Of Fish Finder Rigs
Welcome to the essential guide on mastering the Fish Finder Rig. This simple yet effective setup is a must-know for anglers targeting a variety of species. Understanding the basics can mean the difference between an empty hook and the catch of the day.
What Is A Fish Finder Rig?
The Fish Finder Rig is a popular choice among anglers. Its design allows for natural bait movement, enticing fish effectively. This rig minimizes resistance felt by fish, increasing the chances of a successful hook-up. It’s perfect for beach, surf, and pier fishing.
Key Components Of The Rig
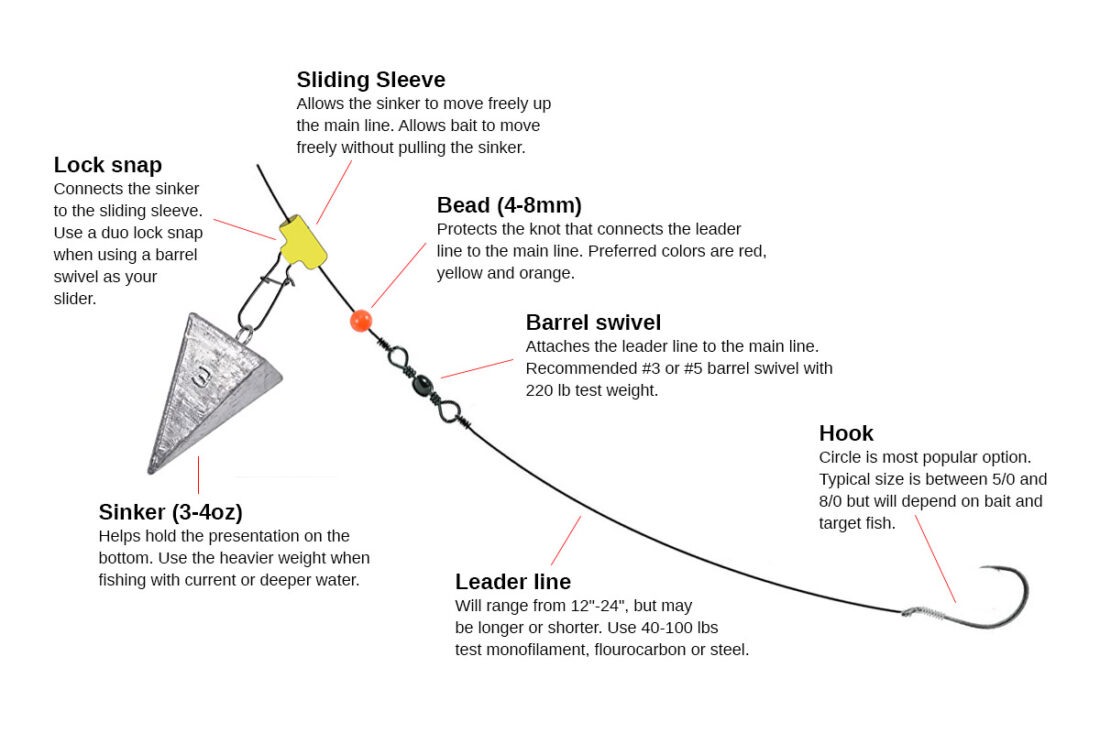
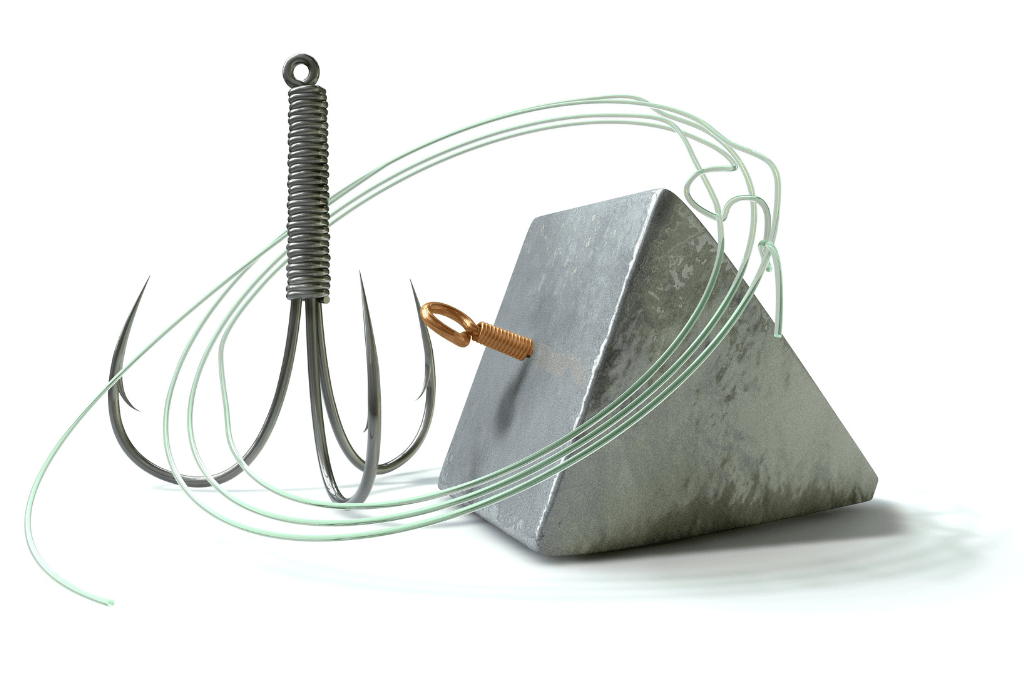
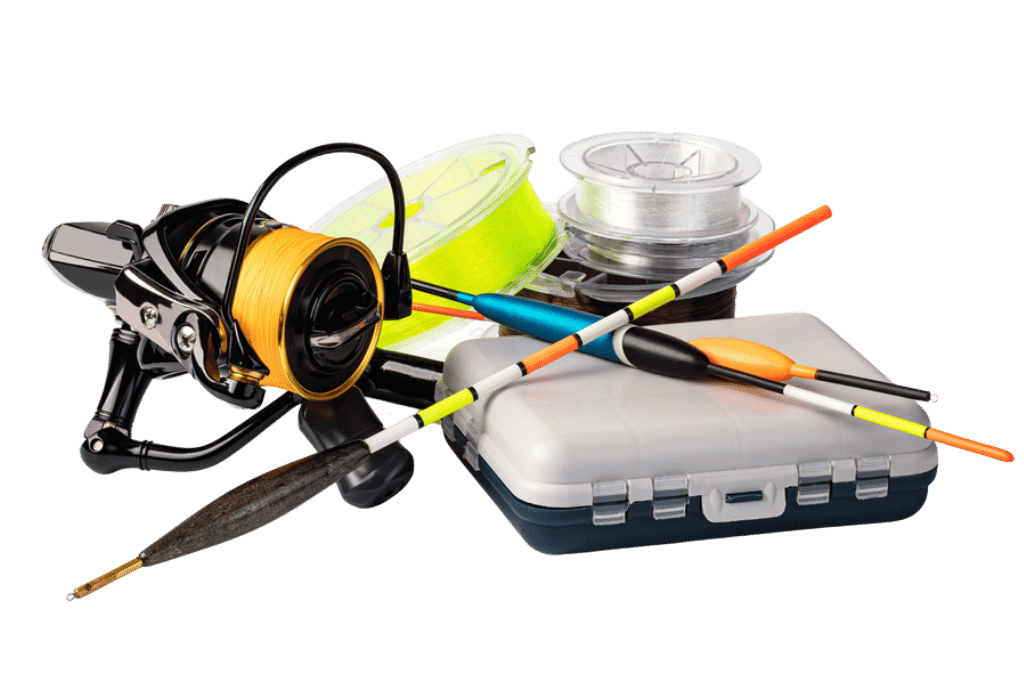
Each part of the Fish Finder Rig plays a crucial role. Here’s a breakdown:
- Hook: The business end of the rig. Size varies based on target species.
- Leader: A length of line stronger than the mainline, it prevents break-offs.
- Swivel: Connects the leader to the mainline while stopping twists.
- Slider: This small piece allows the weight to move freely on the line.
- Weight: Sinker selection depends on current strength and water depth.
- Bead: Protects the knot at the swivel from the sliding weight.
Assemble these components correctly for a rig that delivers results. Happy fishing!
Selecting The Right Gear
Selecting the right gear for your fish finder rig is essential for a successful fishing trip. Whether you’re a seasoned angler or new to the sport, understanding how to match your rod, reel, line, and leader can make all the difference. Let’s dive into the specifics to ensure you’re well-equipped for your next cast.
Choosing The Perfect Rod And Reel
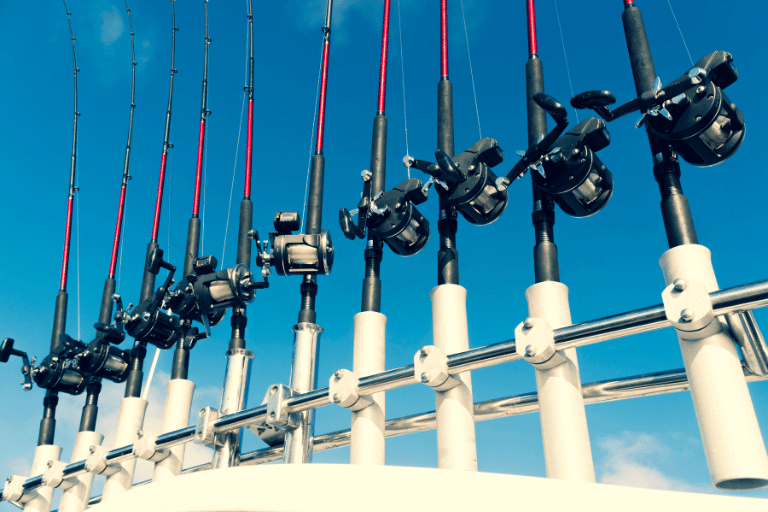
The rod and reel are the angler’s primary tools. Choosing the perfect combination is vital. Consider the following factors:
- Length: A longer rod casts further, while a shorter rod offers more control.
- Power: Match the power to the fish you’re targeting. Heavier power for bigger fish.
- Action: Faster actions are more sensitive to bites. Slower actions provide more flexibility.
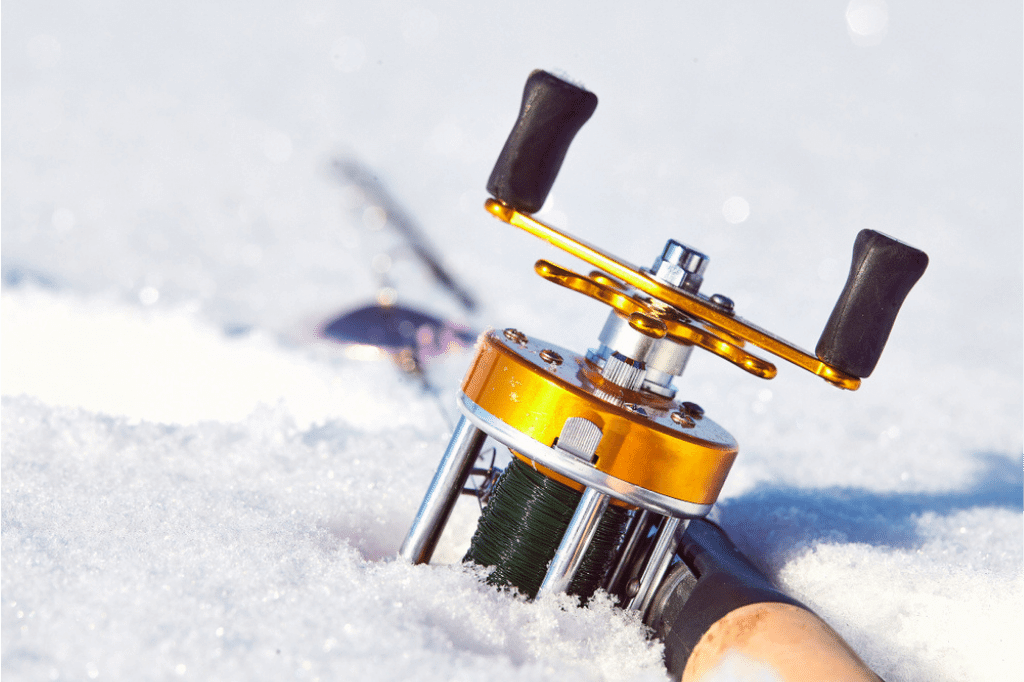
Reels should complement your rod’s action and power. Look for smooth drag systems and robust construction. Ensure they can handle the weight of your preferred line and leader.
Understanding Line And Leader Options
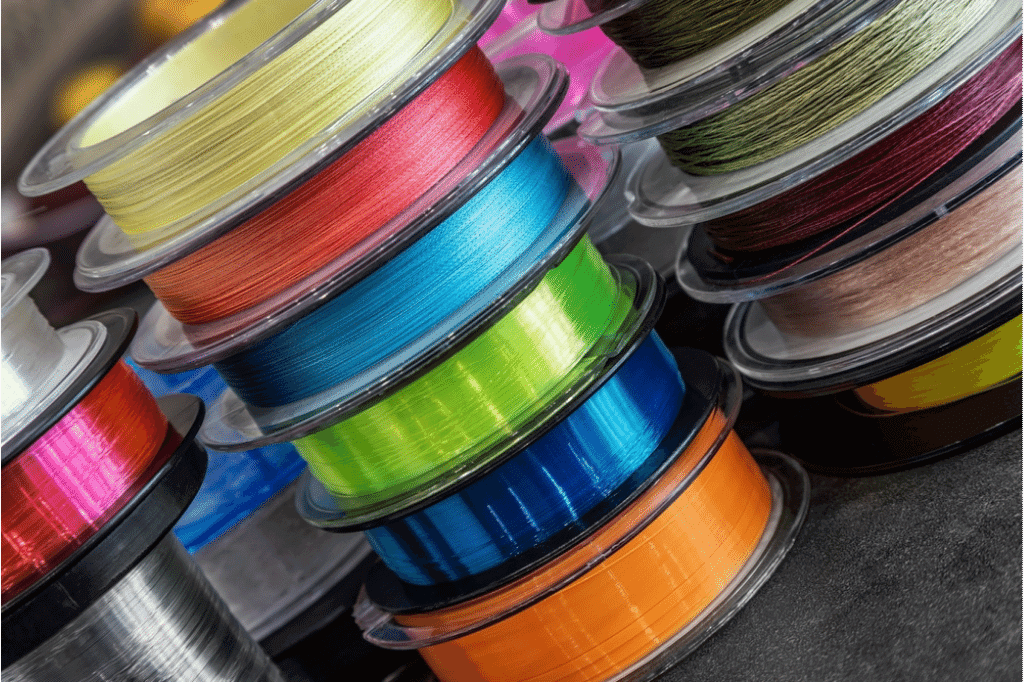
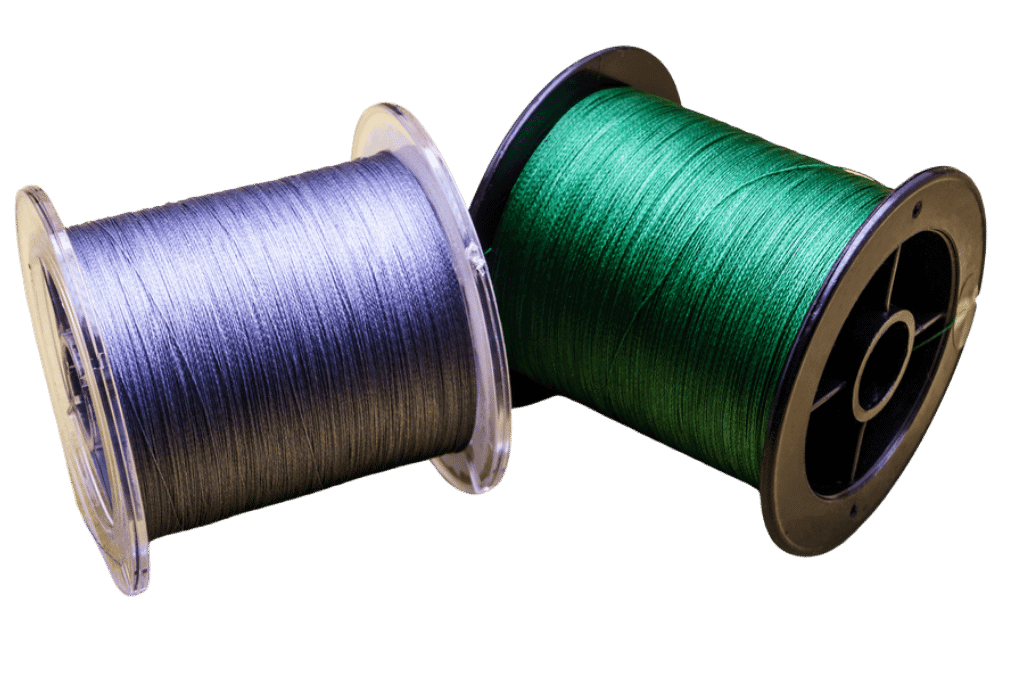
The right line and leader are crucial for a fish finder rig. Your choices affect casting distance, sensitivity to bites, and the ability to reel in your catch.
| Type | Features | Best Use |
|---|---|---|
| Monofilament | Stretchy, forgiving, affordable | Topwater fishing, beginners |
| Braided | Strong, no stretch, sensitive | Deep water, heavy cover |
| Fluorocarbon | Invisible underwater, less stretch | Finessing lures, clear water |
Leaders should be strong enough to withstand bites and abrasion. Choose a leader length that keeps your bait in the strike zone. Match the leader strength to your line for a balanced setup.
The Art Of Bait Selection
Choosing the right bait is key to successful fishing. It can make the difference between a good and a great day. Anglers must understand the nuances of bait selection. This ensures they attract the fish they seek. Let’s dive into the types of baits and how to match them to your target species.
Natural Vs. Artificial Baits
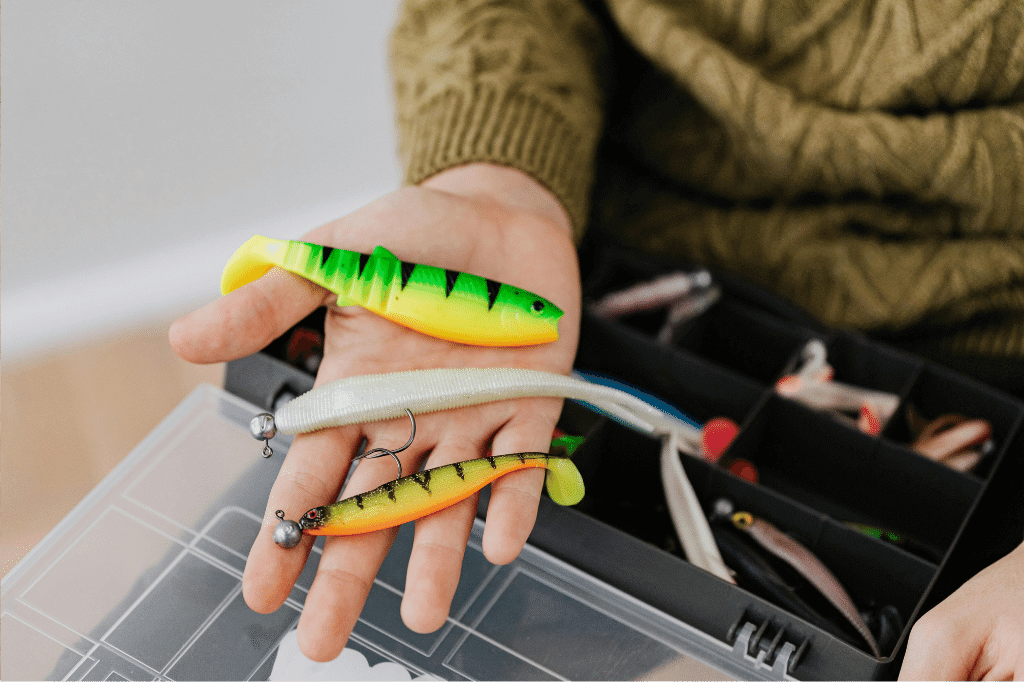
Natural baits come from the environment. They include worms, minnows, and insects. Fish find them irresistible because they’re real. Artificial baits, on the other hand, mimic these natural offerings. They are crafted to trick fish. Both have their place in an angler’s toolkit.
- Natural Baits
- Worms: Great for freshwater fish like bass and trout
- Minnows: Ideal for predatory species such as pike
- Crabs: Perfect for saltwater targets like redfish
- Artificial Baits
- Plastic worms: Versatile for various conditions
- Spinnerbaits: Effective for murky waters
- Topwater lures: Exciting surface action for species like bass
Matching The Bait To The Target Species
Selecting the right bait for your target fish is crucial. Each species has unique preferences. Understanding these will increase your success rate.
| Fish Species | Preferred Natural Bait | Preferred Artificial Bait |
|---|---|---|
| Catfish | Cut bait | Jigs |
| Bass | Live minnows | Crankbaits |
| Trout | Insects | Spinners |
Matching bait to your target ensures a better catch. Study your fish’s diet. Use baits that are part of their natural food chain. This approach often results in a full creel.
Assembling The Fish Finder Rig
Assembling the Fish Finder Rig is a crucial skill for any angler aiming to enhance their fishing experience. This setup allows for more natural bait movement, increasing your chances of catching wary fish. Let’s dive into the detailed steps and tips to build this effective rig.
Step-by-step Assembly Guide
Follow these simple steps to assemble your Fish Finder Rig:
- Attach the sinker slide to your main line. This piece allows for weight adjustments without retying the whole rig.
- Add a bead after the sinker slide. It protects the knot from the sliding weight.
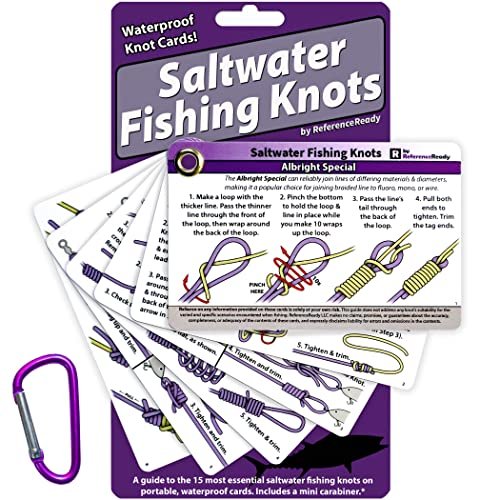
- Tie on a swivel. Use a strong knot, like the Palomar knot, to secure it to the main line.
- Connect your leader line to the other end of the swivel. The leader should be about 18-24 inches.
- Choose your hook based on the fish you target. Attach it to the leader’s end.
- Thread your bait onto the hook carefully to keep it natural-looking.
Common Mistakes To Avoid
Avoid these pitfalls to ensure the best performance from your Fish Finder Rig:
- Using the wrong hook size: Match the hook to the bait size, not too big or small.
- Ignoring line strength: Ensure your leader and main line can handle the target fish.
- Overcomplicating the rig: Keep it simple to allow natural bait movement.
- Forgetting the bead: This small piece protects your knot from the sliding weight.
By following these guidelines and avoiding common mistakes, your Fish Finder Rig will be ready to catch fish effectively.
Casting Techniques For Success
Mastering the art of casting is crucial when using a Fish Finder Rig. The right casting techniques can mean the difference between a good day on the water and a great one. Let’s dive into how to cast your line for success.
Perfecting Your Casting Distance
Getting your bait out to where the fish are starts with perfecting your casting distance. Achieving the ideal distance requires a mix of technique and practice.
- Choose the right gear: A rod and reel suited to your rig and target species makes a big difference.
- Check your stance: Stand with your feet shoulder-width apart for stability.
- Practice the swing: A smooth, fluid motion helps send your rig further.
- Consider the wind: Use it to your advantage to carry your bait out.
Tips For Accurate Casting
Accuracy is just as important as distance. Landing your rig in the right spot can lure in more fish.
- Focus on the target: Keep your eyes on where you want your rig to land.
- Control your cast: A controlled, deliberate cast reduces the risk of tangles.
- Adjust your release: Release the line at the right moment to guide the rig.
- Practice: The more you cast, the better your accuracy will become.
Apply these techniques each time you cast, and watch your success rate soar. Happy fishing!
Detecting Bites And Setting The Hook
Knowing when a fish nibbles at your bait is crucial for a successful catch. Detecting bites and setting the hook correctly could mean the difference between a trophy fish and a tale of the one that got away. Let’s dive into the techniques that will help you become adept at interpreting those subtle underwater messages.
Interpreting Rod And Line Signals
Understanding the difference between a fish’s bite and other movements underwater is key. Look for these signs:
- A sudden twitch of the rod tip.
- A consistent pull signaling a fish swimming away.
- Line slackness, which might indicate a fish coming towards you.
Equip yourself with a sensitive rod and maintain a tight line for better signal transmission. Observe the line and feel the rod for the slightest movements. These hints tell you when to prepare for the hook set.
Mastering The Timing Of Hook Sets
Timing is everything. Too soon or too late can cost you the catch. Follow these steps:
- Keep your focus. Your reaction time matters.
- Wait for the definite pull on the line.
- Swiftly yet smoothly, lift the rod to set the hook.
Practice makes perfect. Refine your reflexes to ensure a firm hook set. Remember, different species may require different techniques. Adapt and react to the type of fish you’re targeting.
Adapting The Rig For Different Environments
The Fish Finder Rig is versatile, perfect for various fishing conditions. Understanding how to adapt this rig can significantly enhance your fishing success. Below, we explore how to customize the Fish Finder Rig for both saltwater and freshwater environments, and how to adjust it based on current and tide conditions.
Customizing For Saltwater Vs. Freshwater
Different water types require specific adjustments to the Fish Finder Rig. Here’s how you can adapt:
- Saltwater: Use heavier weights to combat the typically stronger currents. Stainless steel or brass hooks prevent rust in salty conditions.
- Freshwater: Opt for lighter weights and smaller hooks, as freshwater species are generally less robust than saltwater ones.
Adapting your rig correctly can prevent line tangles and ensure the bait remains enticing to the fish.
Tweaking The Rig For Current And Tide
Currents and tides can influence your fishing success. Adjusting the Fish Finder Rig accordingly can yield better results:
| Condition | Adjustment |
|---|---|
| Strong Current | Use a heavier sinker to keep the bait stable. |
| Light Current | A lighter sinker may suffice, allowing more natural bait movement. |
| High Tide | Position the rig deeper to reach the fish. |
| Low Tide | Shallow setups work better as fish move closer to shore. |
By adjusting the weight and placement of your rig, you can keep your bait in the optimal spot, enticing more bites.
Credit: norrik.com
Advanced Tactics And Pro Tips
Unlock the secrets of the deep with our guide to advanced fish finder rig tactics and pro tips. Whether you’re a seasoned angler or looking to up your game, these strategies will help you reel in the big one even on the toughest fishing days.
Strategies For Tough Fishing Days
When the fish seem to have lockjaw, these strategies can turn a slow day into a success:
- Change your bait: Experiment with different types and colors to find what works.
- Adjust the depth: Fish may be deeper or shallower than usual; use your fish finder to locate them.
- Slow down your retrieve: Give finicky fish more time to bite.
- Focus on structure: Fish often congregate around submerged objects.
Leveraging Technology With Traditional Techniques
Combine the best of both worlds for a winning strategy:
| Technology | Traditional Technique |
|---|---|
| GPS Mapping | Mark your hotspots for future trips. |
| Sonar Readings | Identify the depth and adjust your rig accordingly. |
| Water Temperature | Match the hatch based on the species’ preferred conditions. |
Remember, the key is to stay adaptable and use technology to enhance time-tested angling methods.
Maintenance And Care For Longevity
A Fish Finder Rig is a key asset for any angler. Proper maintenance and care are vital. They ensure your rig lasts longer and performs better. Follow these simple steps to keep your rig in top condition.
Cleaning And Storing Your Rig
After each use, cleaning your Fish Finder Rig is crucial. Saltwater can corrode metal components. Rinse your rig with fresh water immediately after fishing. Use a soft brush to remove any debris. Dry it thoroughly before storing. Store your rig in a cool, dry place away from direct sunlight. This prevents damage from heat and UV rays.
- Rinse with fresh water to remove salt and sand.
- Brush off debris gently to avoid wear.
- Dry completely before storing to prevent rust.
- Avoid sunlight when storing to prevent UV damage.
Replacing Components As Needed
Inspect your rig regularly. Look for signs of wear or damage. Replace worn or damaged components promptly. This ensures the rig functions correctly and avoids losing a catch. Keep spare parts like hooks, swivels, and weights on hand.
| Component | Check for | Action |
|---|---|---|
| Hooks | Dullness or rust | Replace if not sharp |
| Swivels | Wear or weakness | Replace if not swiveling freely |
| Weights | Cracks or chips | Replace if damaged |
Success Stories And Case Studies
The tales of triumph with the Fish Finder Rig inspire both seasoned and new anglers. These case studies showcase the rig’s effectiveness in various fishing scenarios. Let’s dive into real-life experiences and analyze the outings where the Fish Finder Rig truly shone.
Angler Experiences With The Fish Finder Rig
Countless anglers credit the Fish Finder Rig for their most memorable catches. Here are some of their stories:
- John’s Big Catch: John, a weekend fisher, landed a trophy bass using the rig. His setup included a live bait, which proved irresistible.
- Emily’s Surf Victory: Emily, new to surf fishing, used the rig and outperformed veterans. Her precise cast and the rig’s sensitivity led to an impressive haul.
- Liam’s River Success: On a slow river day, Liam’s Fish Finder Rig setup attracted a hefty catfish. He praised the rig’s ability to hold bait naturally in the current.
Analyzing Successful Outings
Examining successful fishing trips, patterns emerge. Here are key factors leading to the Fish Finder Rig’s success:
| Fishing Environment | Bait Used | Result |
|---|---|---|
| Open Ocean | Cut Squid | Bountiful Snapper |
| Rocky Shoreline | Live Minnows | Large Striped Bass |
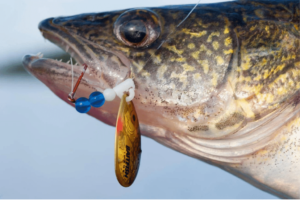
| Fast-moving River | Synthetic Lures | Multiple Walleyes |
Each successful outing underscores the rig’s adaptability and effectiveness with different baits and environments. Anglers consistently report positive results, solidifying the rig’s reputation as a versatile tool for various fishing scenarios.
Frequently Asked Questions
What Is The Best Rig For A Fish Finder?
The best rig for a fish finder is a transom mount with a swivel arm for easy adjustment and optimal sonar signal. Ensure it’s compatible with your boat and fish finder model for maximum effectiveness.
How Does The Fish Finder Rig Work?
The fish finder rig uses a weight to cast bait far and keep it anchored. A leader connects the baited hook, allowing free movement and natural presentation to attract fish.
Is A Fish Finder Rig The Same As A Carolina Rig?
A fish finder rig and a Carolina rig are similar but not identical; they differ mainly in their setup for weight and leader attachment.
How To Attach A Fish Finder Rig?
To attach a fish finder rig, start by tying your main line to a swivel. Attach a leader line to the other side of the swivel. Next, tie a hook to the end of the leader. Finally, clip a sinker to the leader line above the hook to complete the setup.
Conclusion
Exploring the fish finder rig can significantly enhance your fishing experience. It’s tailored to boost your catch rate efficiently. Remember, choosing the right components and setup is key. Start using this versatile rig to maximize your success in various fishing environments.
Happy fishing, and may your lines always be tight!
